硬汉嵌入式论坛

 找回密码
 立即注册
查看: 618|回复: 6
收起左侧

我的高级现实人形机器人项目

[复制链接]

1

主题

5

回帖

8

积分

新手上路

积分
8
发表于 2025-8-22 02:58:19 | 显示全部楼层 |阅读模式


Project Goal: I'm working on making a series of humanoid robots. The goal is for these robots to have a musculoskeletal system inspired by the human body, advanced artificial intelligence, and to look human, at least to a casual observer from a distance. I want to use them as home assistants, doing chores and making things.


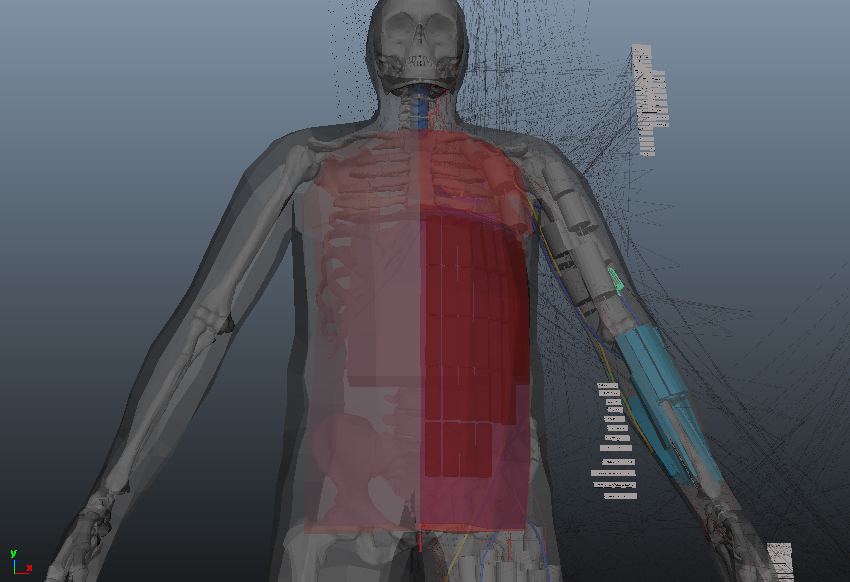
Here's a CAD image of my Abel robot showing the small BLDC motors I chose for each muscle replacement and mounted wherever space allowed in the CAD.
I don't speak Chinese, I speak English and am using a translation app
cad-for-abel.jpg

回复

使用道具 举报

0

主题

6

回帖

6

积分

新手上路

积分
6
发表于 2025-8-27 08:56:14 | 显示全部楼层
This is a huge project.
回复

使用道具 举报

1

主题

5

回帖

8

积分

新手上路

积分
8
 楼主| 发表于 2025-8-28 05:22:33 | 显示全部楼层

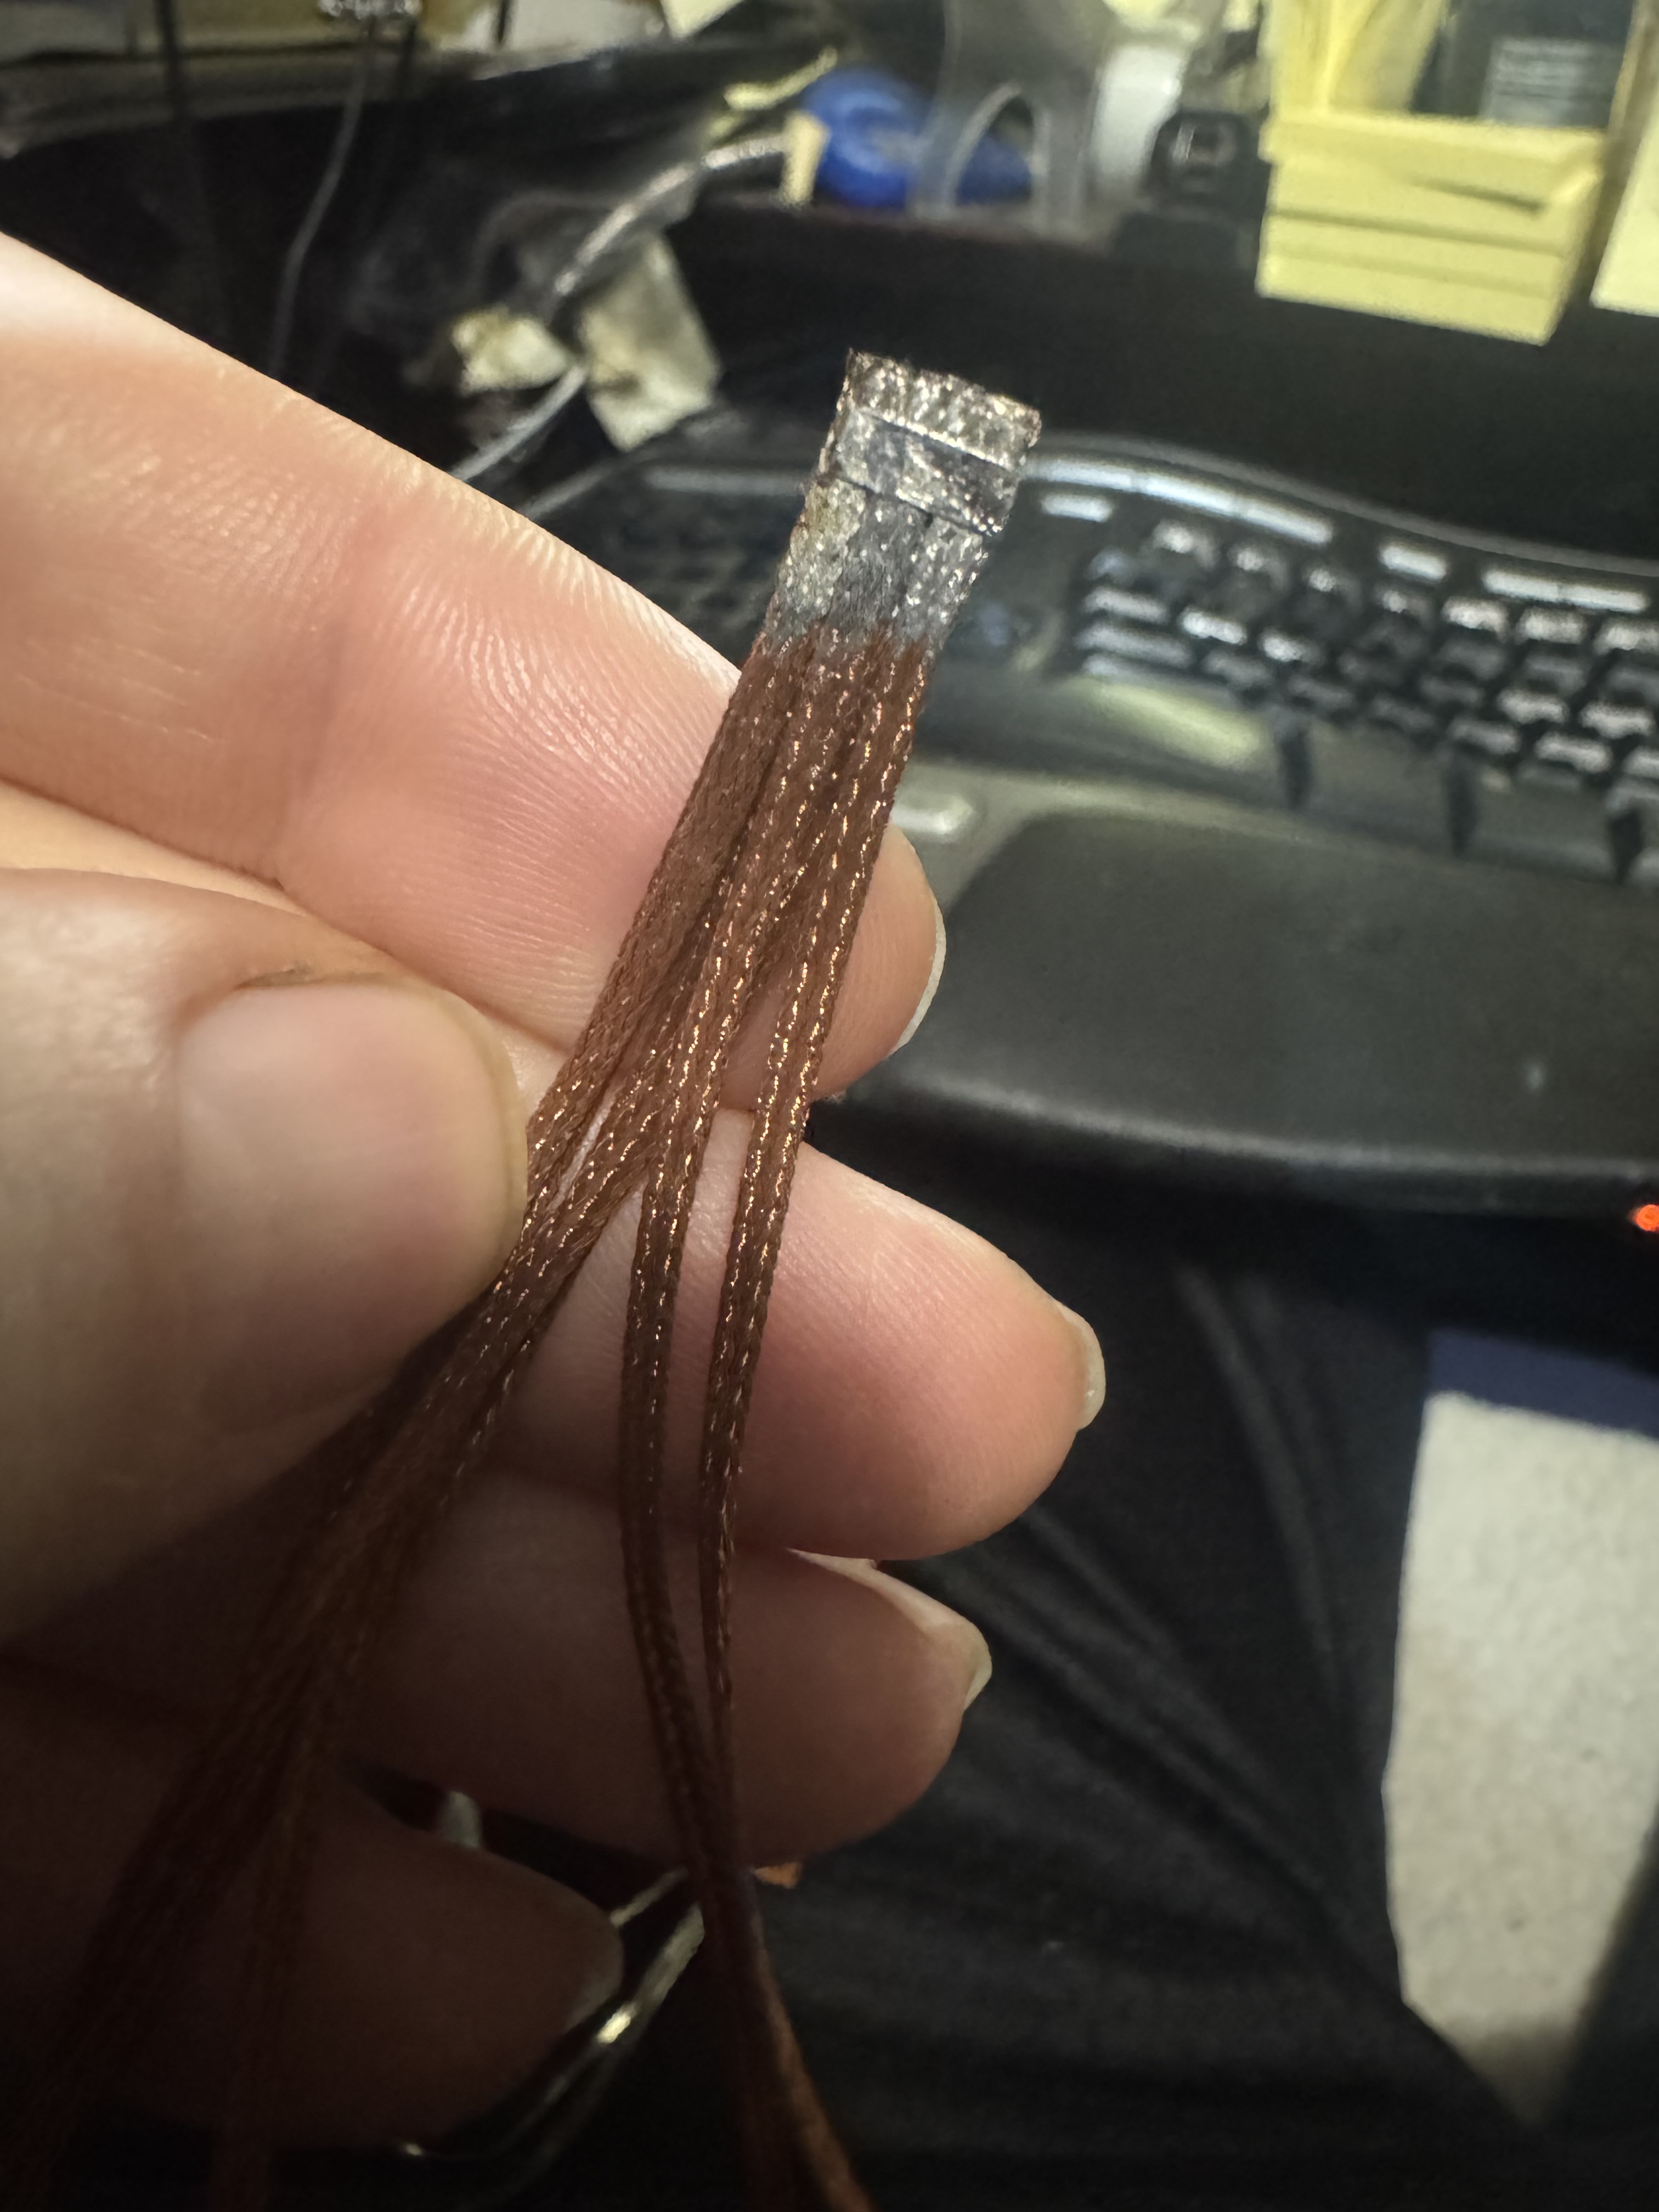
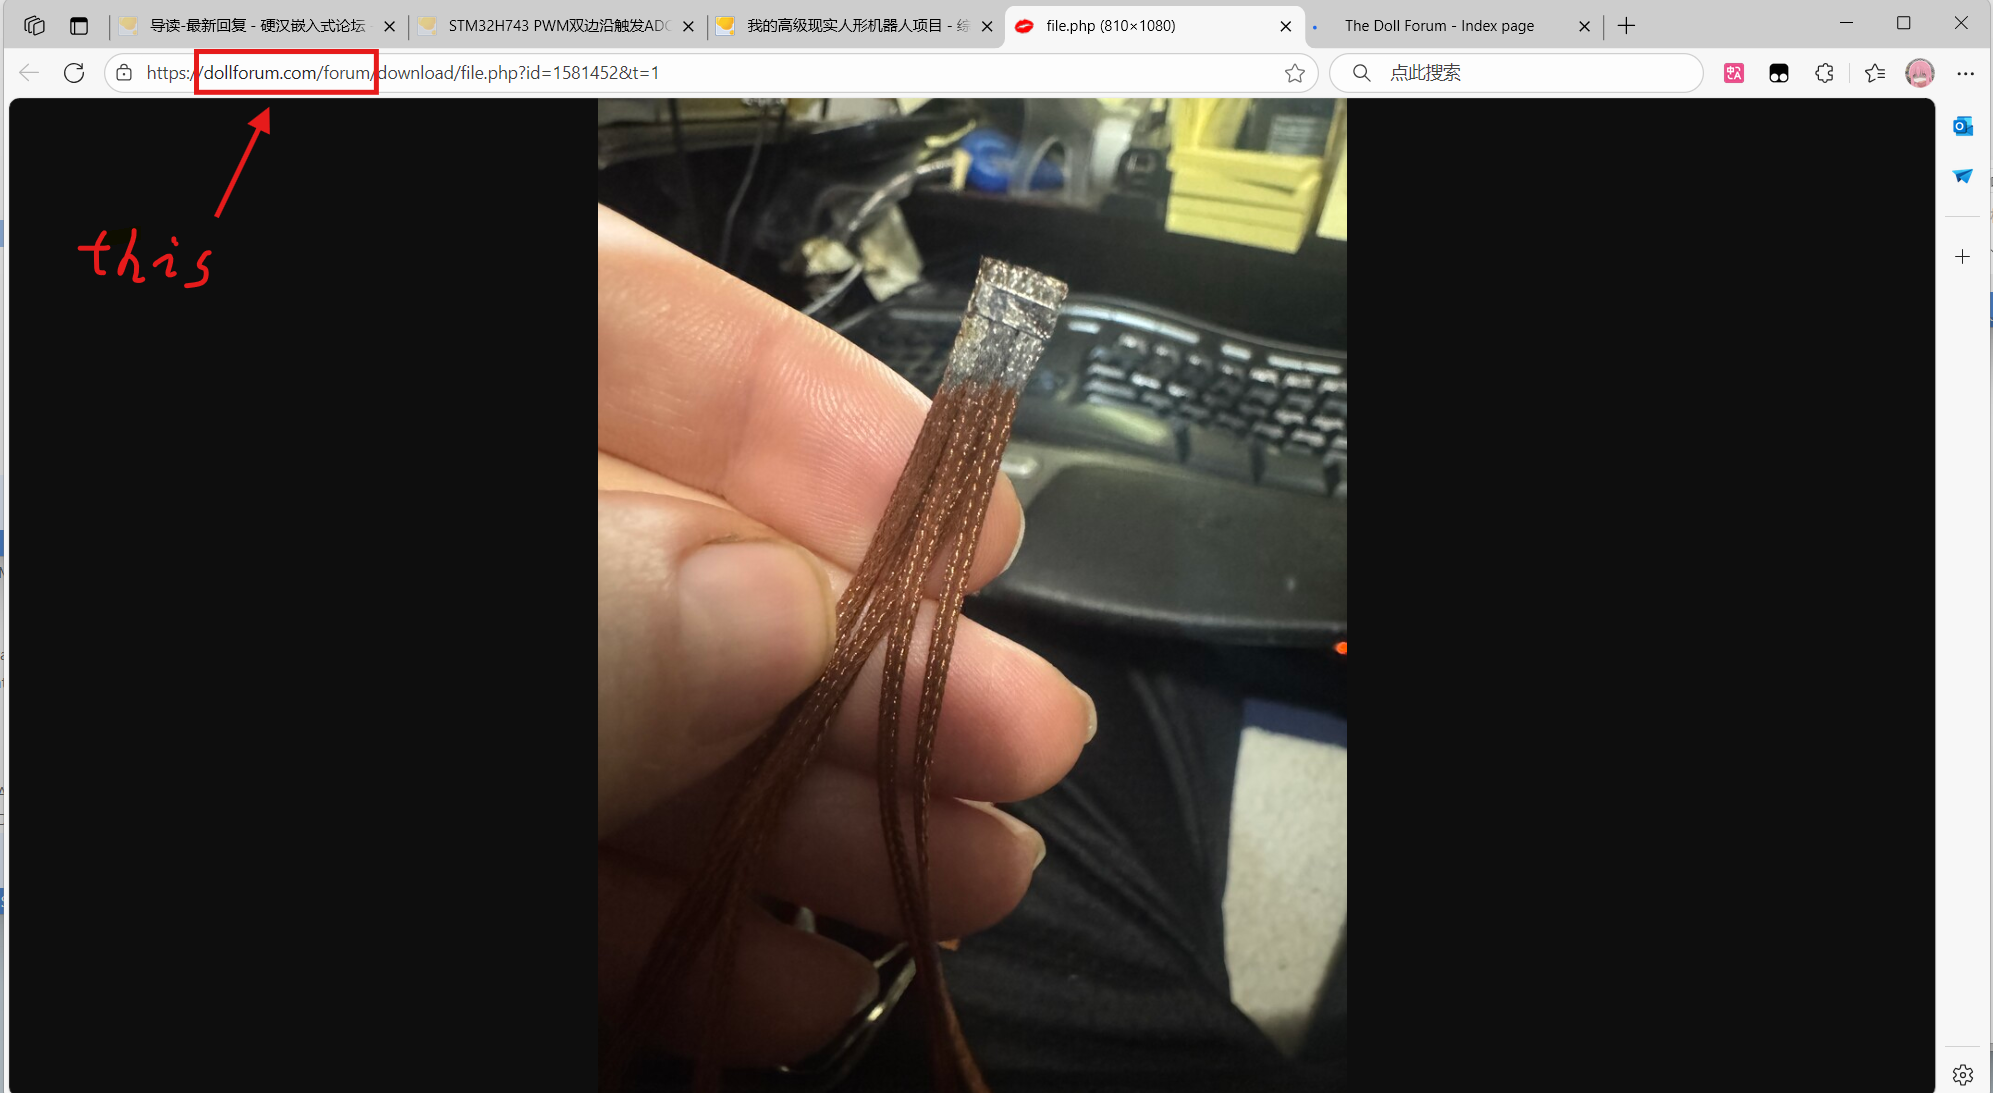
电机会使指关节收缩,但手镯绳会再次将其伸直。  为了创建这种手镯绳连接,我在手镯绳带的每一端打一个结,然后将尼龙线绑在手镯绳结内的手镯绳上。手链两端的绳结充当终点挡块。到目前为止似乎效果很好,并且比我之前提出的方法减少了材料。


回复

使用道具 举报

1

主题

5

回帖

8

积分

新手上路

积分
8
 楼主| 发表于 2025-9-4 04:40:18 | 显示全部楼层
好的,手镯绳很快就会自动解开,所以我要回到之前用钓鱼压接套将手镯绳两端绑起来的方法。


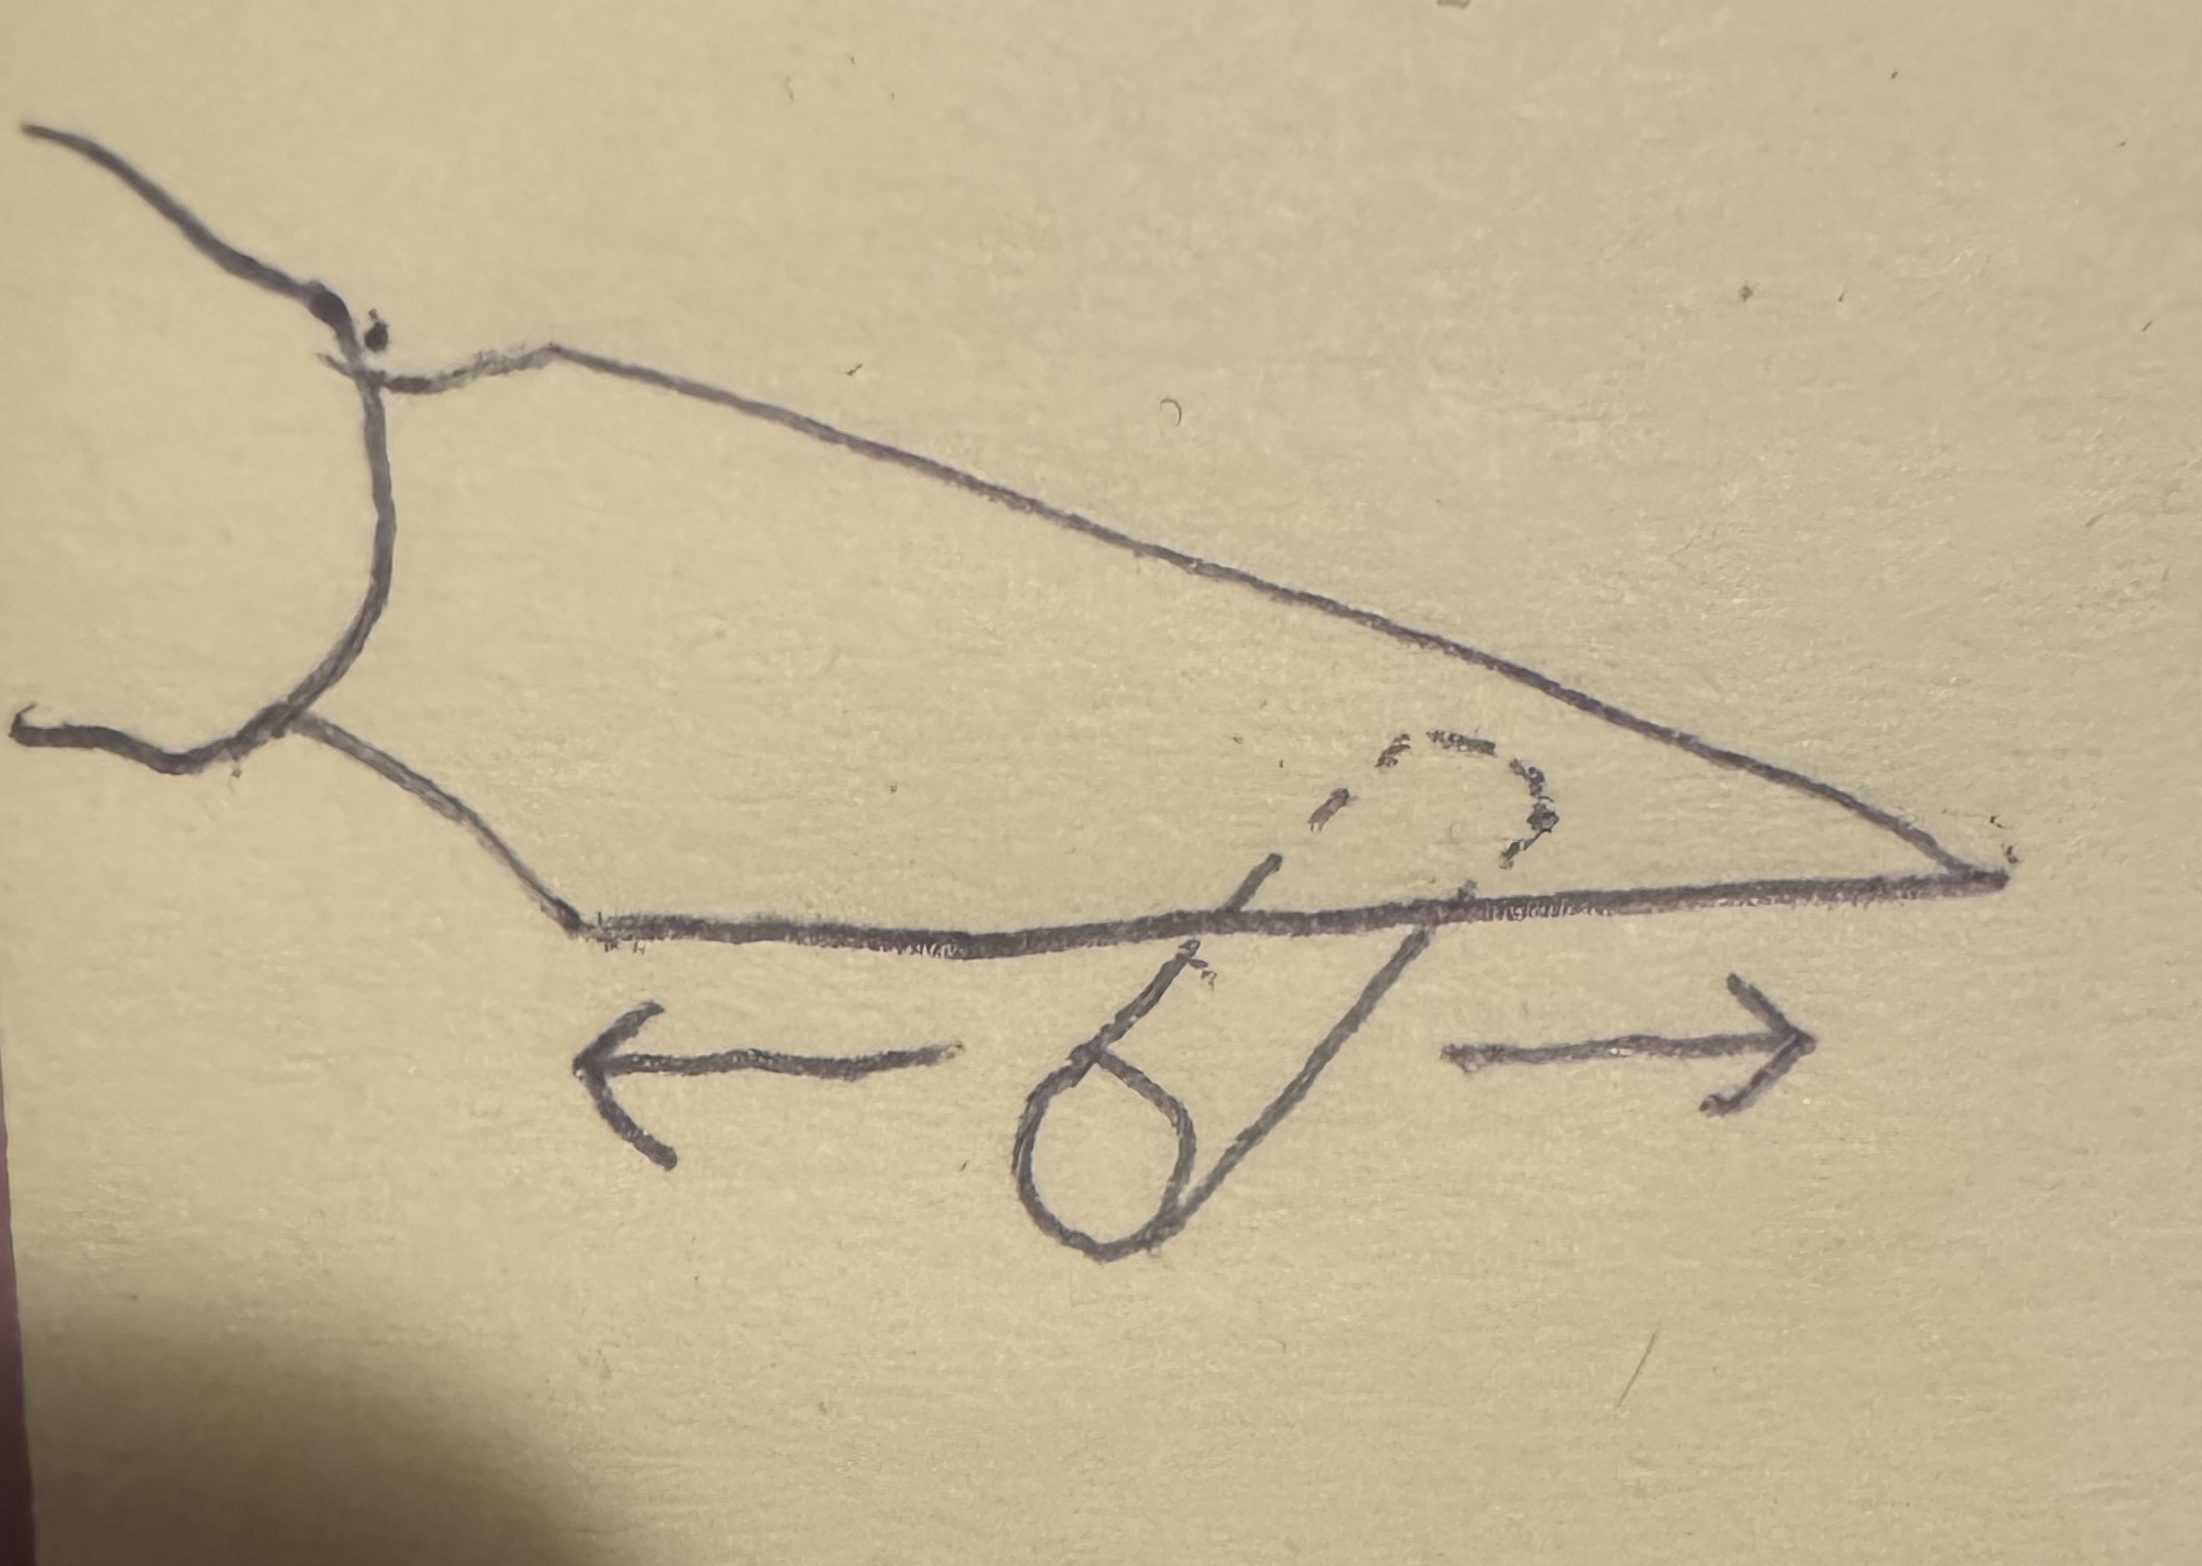
当尝试用我的迷你斜切锯将钓鱼卷曲袖切成两半时,我注意到这是一个困难的过程并且并不理想。所以我想出了一个更简单的方法,它更快、更干净、安装和拆卸更少、不需要去毛刺等等!


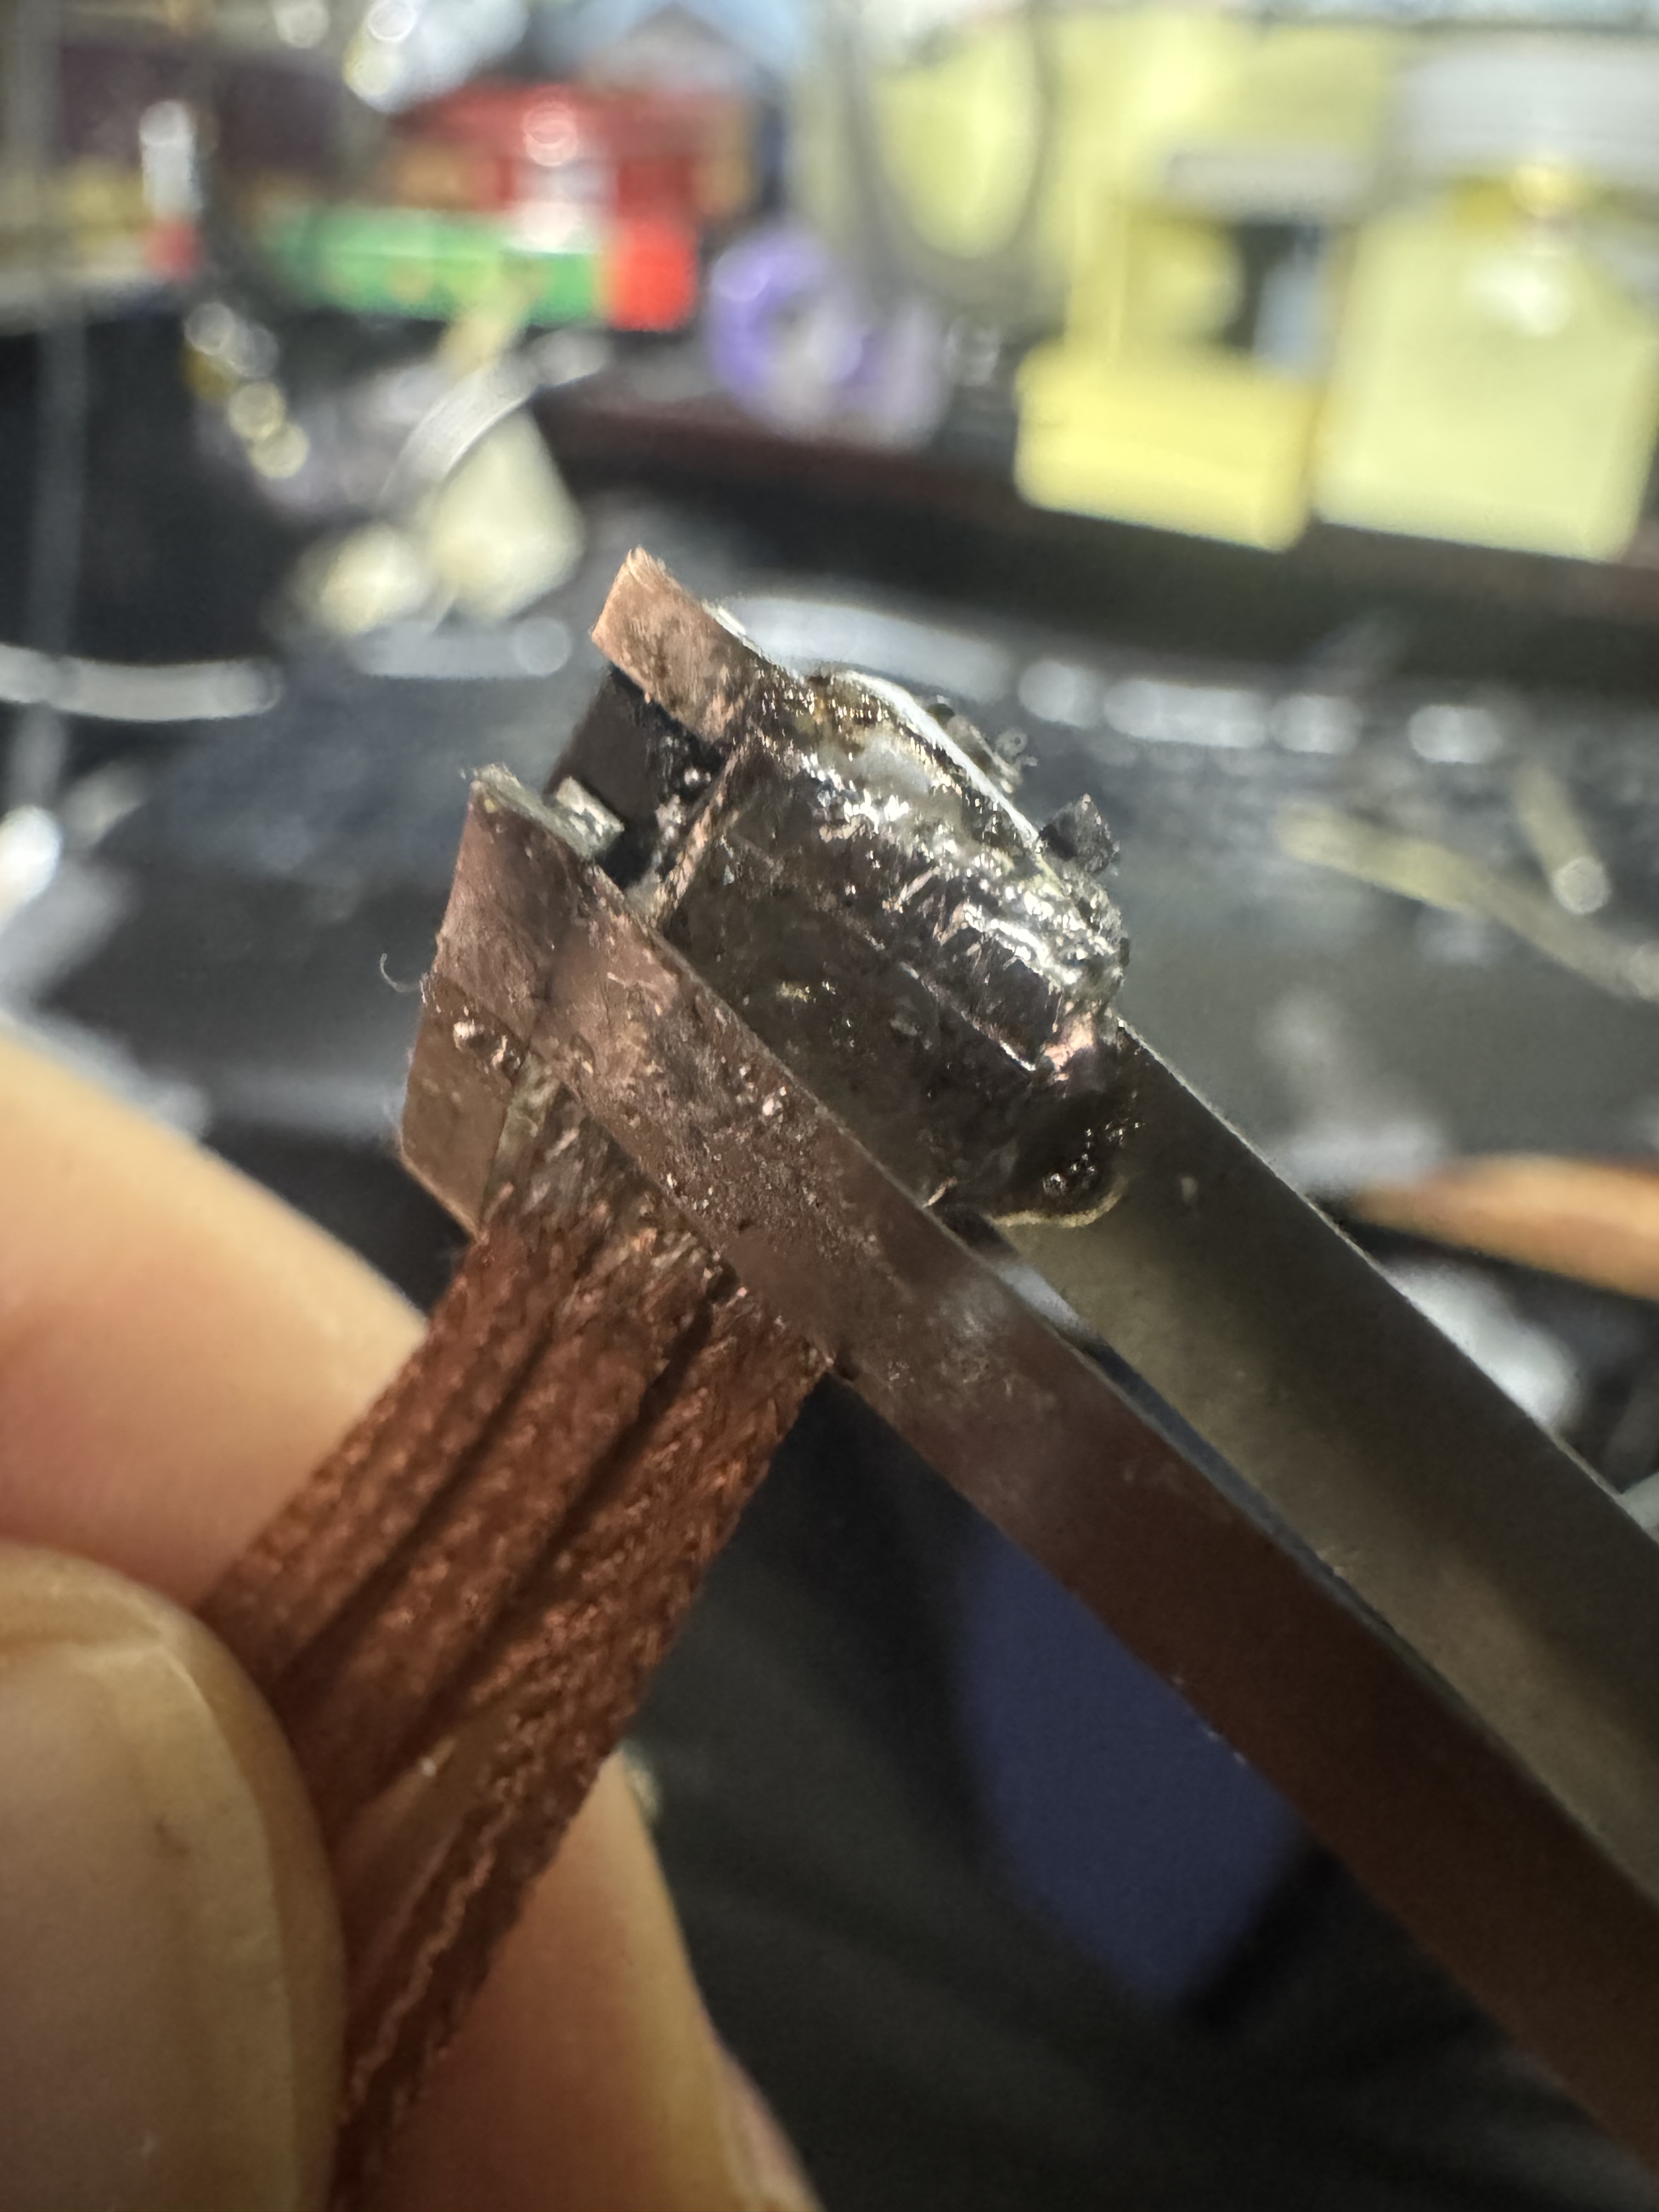
方法是将打捞压接套筒放在平坦的表面上,将精确的刀片垂直于其顶部排列,然后施加适度的向下压力以在金属上刻痕,然后小心地前后滑动刀,形成完美的刻痕线,每次通过时刻痕线都会加深。经过几次之后,钓鱼压接套筒的两半干净地分开了!该方法使用与管道中使用的铜管切割机类似的原理。

easy-method-to-cut-fishing-crimp-sleeves.jpg
回复

使用道具 举报

1

主题

5

回帖

8

积分

新手上路

积分
8
 楼主| 发表于 2025-9-7 01:32:12 | 显示全部楼层
I installed two tensioners for the robot and they were seriously successful overall in testing. So much so that I am now confident enough in the entire pulley system to move onto the custom mini BLDC motor controller to get the motor to run motorized tests of finger movements next. Well after a couple very minor tweaks that is.


So the first tensioner I installed on the extension part of the index finger joint we are working on. I used the bracelet cord folded in half and fishing crimp sleeved then sewn into the bone fabric. It seems just about perfect except for one thing: I want to keep it under mild constant tension but the bone fabric creeps/moves slowly when put under constant tension like this because it is taped into place on the bone after all. The tape is allowing the movement. This means it does not stay put and my anchor points move over time so I can't set a tension and rely on it staying at that tension long term. To resolve this I need a mechanical connection at the tension point anchoring location.


To mechanically connect my anchor point, I have decided to use tiny self tapping screws. I have avoided screwing into the bones till now but I'm making an exception here. The screws won't be going that deep and the finger bones are unlikely to break anyways IMO. So I feel comfortable with this. Here's the screws I ordered for this from Amazon:


Next, I created a tensioner for the middlemost archimedes pulley. That pulley was creating significant drag and slowing down the finger extension during testing due to rope friction. So adding a tensioner line to pull it back down toward the fingers during extension was my solution for this. It worked amazingly well. To make this, first I tied off a fishing hook eye to the bottom of the radius bone just above where my TPFE guide tubing entrance is. Then I glued a 7cm piece of bracelet cord to a piece of 6lb test .08mm braided pe fishing line with 401 glue. I secured the top of the bracelet cord to the top of the archimedes pulley system and then threaded the other end through the fishing hook eye and back up and to the bottom of the archimedes pulley where I tied it off. So it ties off at top, comes down to bottom, goes through the fishing eye then comes back up and connects to my pulley. It creates just enough downward pull to delete the rope drag slowing down that pulley from coming down and this enables the system to unwind and extend back to its starting point after each time I contracts/pulls upward to cause finger contraction. This means the finger extension now happens swiftly with no hangups and the whole archimedes pulley system is now under constant tension at all times which keeps things neat and prevents tangling issues pre-emptively. This rig was a massive success and took up hardly ANY space at all.  I put the post it notes behind the archimedes pulley tensioner so you can see it. It's hard to see otherwise without a contrasting backdrop. It works amazingly well.


回复

使用道具 举报

1

主题

5

回帖

8

积分

新手上路

积分
8
 楼主| 发表于 2025-9-11 01:21:46 | 显示全部楼层
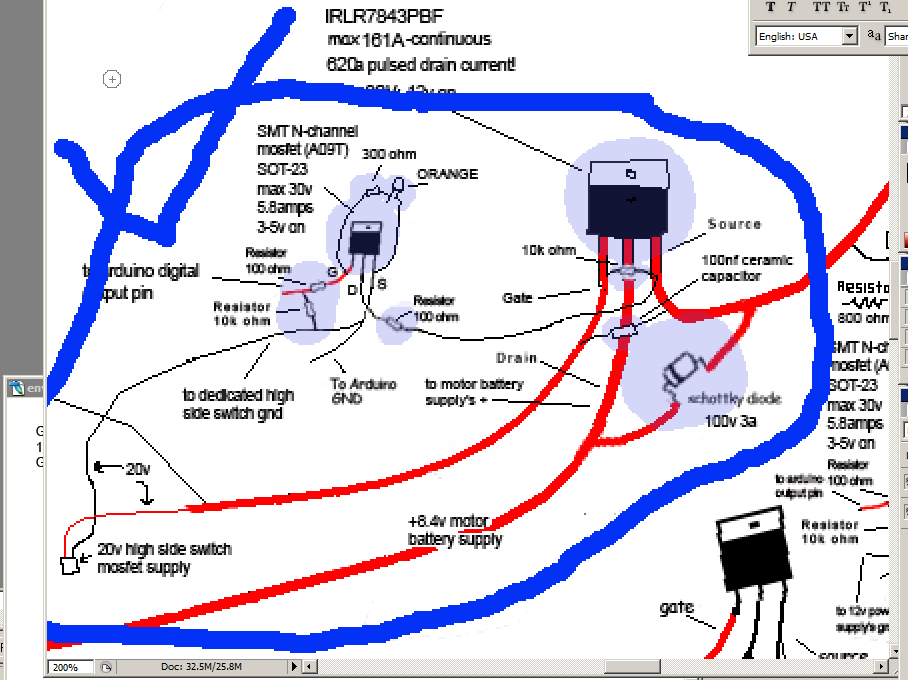
Back to electronics again. I've been reviewing my BLDC motor schematic and making some minor adjustments. Here's the updated schematic. It combines many other schematics I found online with some help from ChatGPT. Level 1 is complete cluelessness, and level 10 is an absolute expert at BLDC motor schematics. I think I'm probably a level 5. So, please take my design with a grain of salt. It'll be interesting to see if it works. Notice that I've included some schematics from Electronoobs, an excellent YouTuber, on the left for reference and learning material. My schematic is the large one on the right. Electronoobs' video series on BLDC motor controllers was very helpful in helping me develop a basic understanding of these things.


回复

使用道具 举报

1

主题

5

回帖

8

积分

新手上路

积分
8
 楼主| 发表于 6 天前 | 显示全部楼层
我开始对 BLDC 电机控制器的某些部分进行一些测试,遇到了一些问题并学到了一些东西。我正在与 chatgpt 合作解决每个问题,并一直在更新我的原理图以反映我所做的大量更改。我了解到的一件事是,对于高侧开关,从栅极到源极的电压必须比漏极电压高 10-12v,因为一旦开关打开,漏极电压就会与源极电压相同。然后,从栅极到源极的电压必须以电机输入电压 + 12 开始,同时仍符合数据表规定的从栅极到源极最大允许电压的范围,或者必须随着源极电压上升而动态上升,使得当源极电压上升成为漏极电压时,从栅极到源极的电压比源极电压高 12。
幸运的是,我可以为这个 2430 电机使用前者,因为我可以使用 6-8.4v 为电机供电,并且从栅极到源极的电压最大值为 20v。这意味着我可以使用从栅极到源极的 20V 电​​压,当 MOSFET 首次开启时,不会烧坏 MOSFET,但当源极上升到 8.4V 时,20V-8.4V 仍然是 11.6V,这足够高,使 MOSFET 能够在没有任何动态设置的情况下仍然保持开启状态。如果我想稍后在一些较大的电机上使用 12V 电机电源,我将需要一个自举电路来为高端 MOSFET 提供从栅极到源极的动态电压,该电压在源极电压上升时上升。所以我添加了该示意图以及一个选项。我也可以为此使用 MOSFET 驱动器,但希望通过仅使用分立元件而不是 IC 来降低成本和增加的体积。

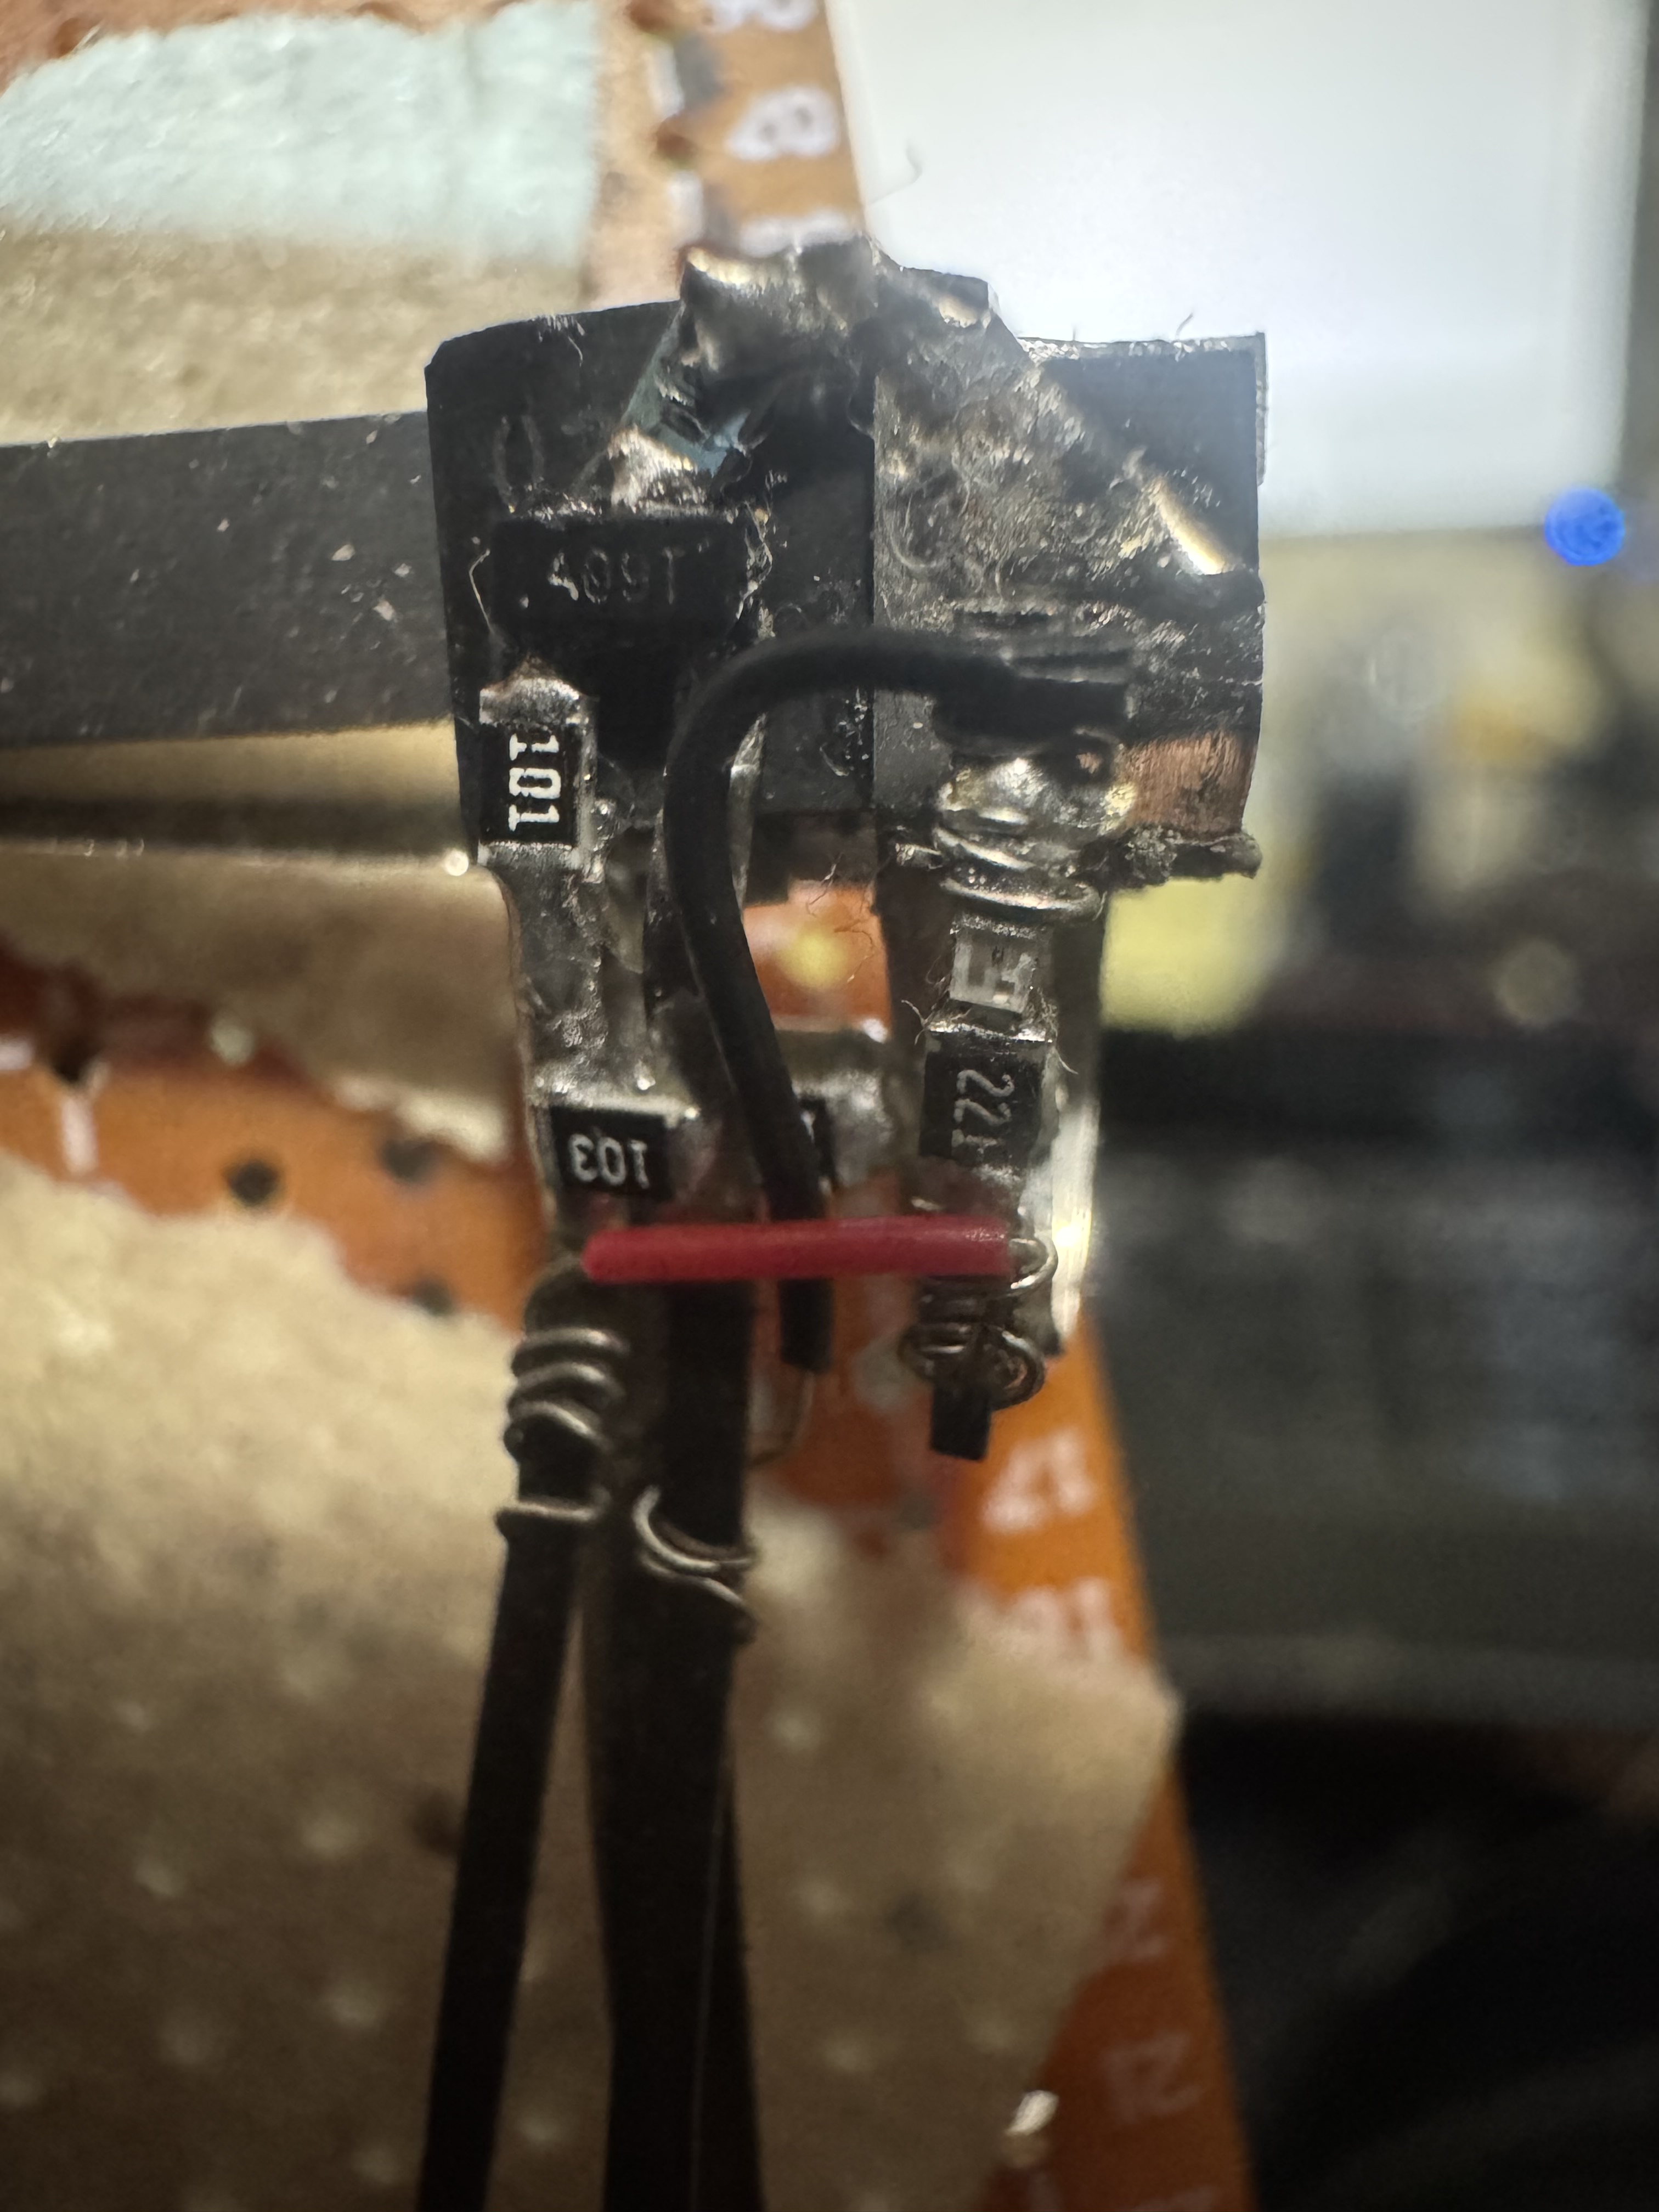
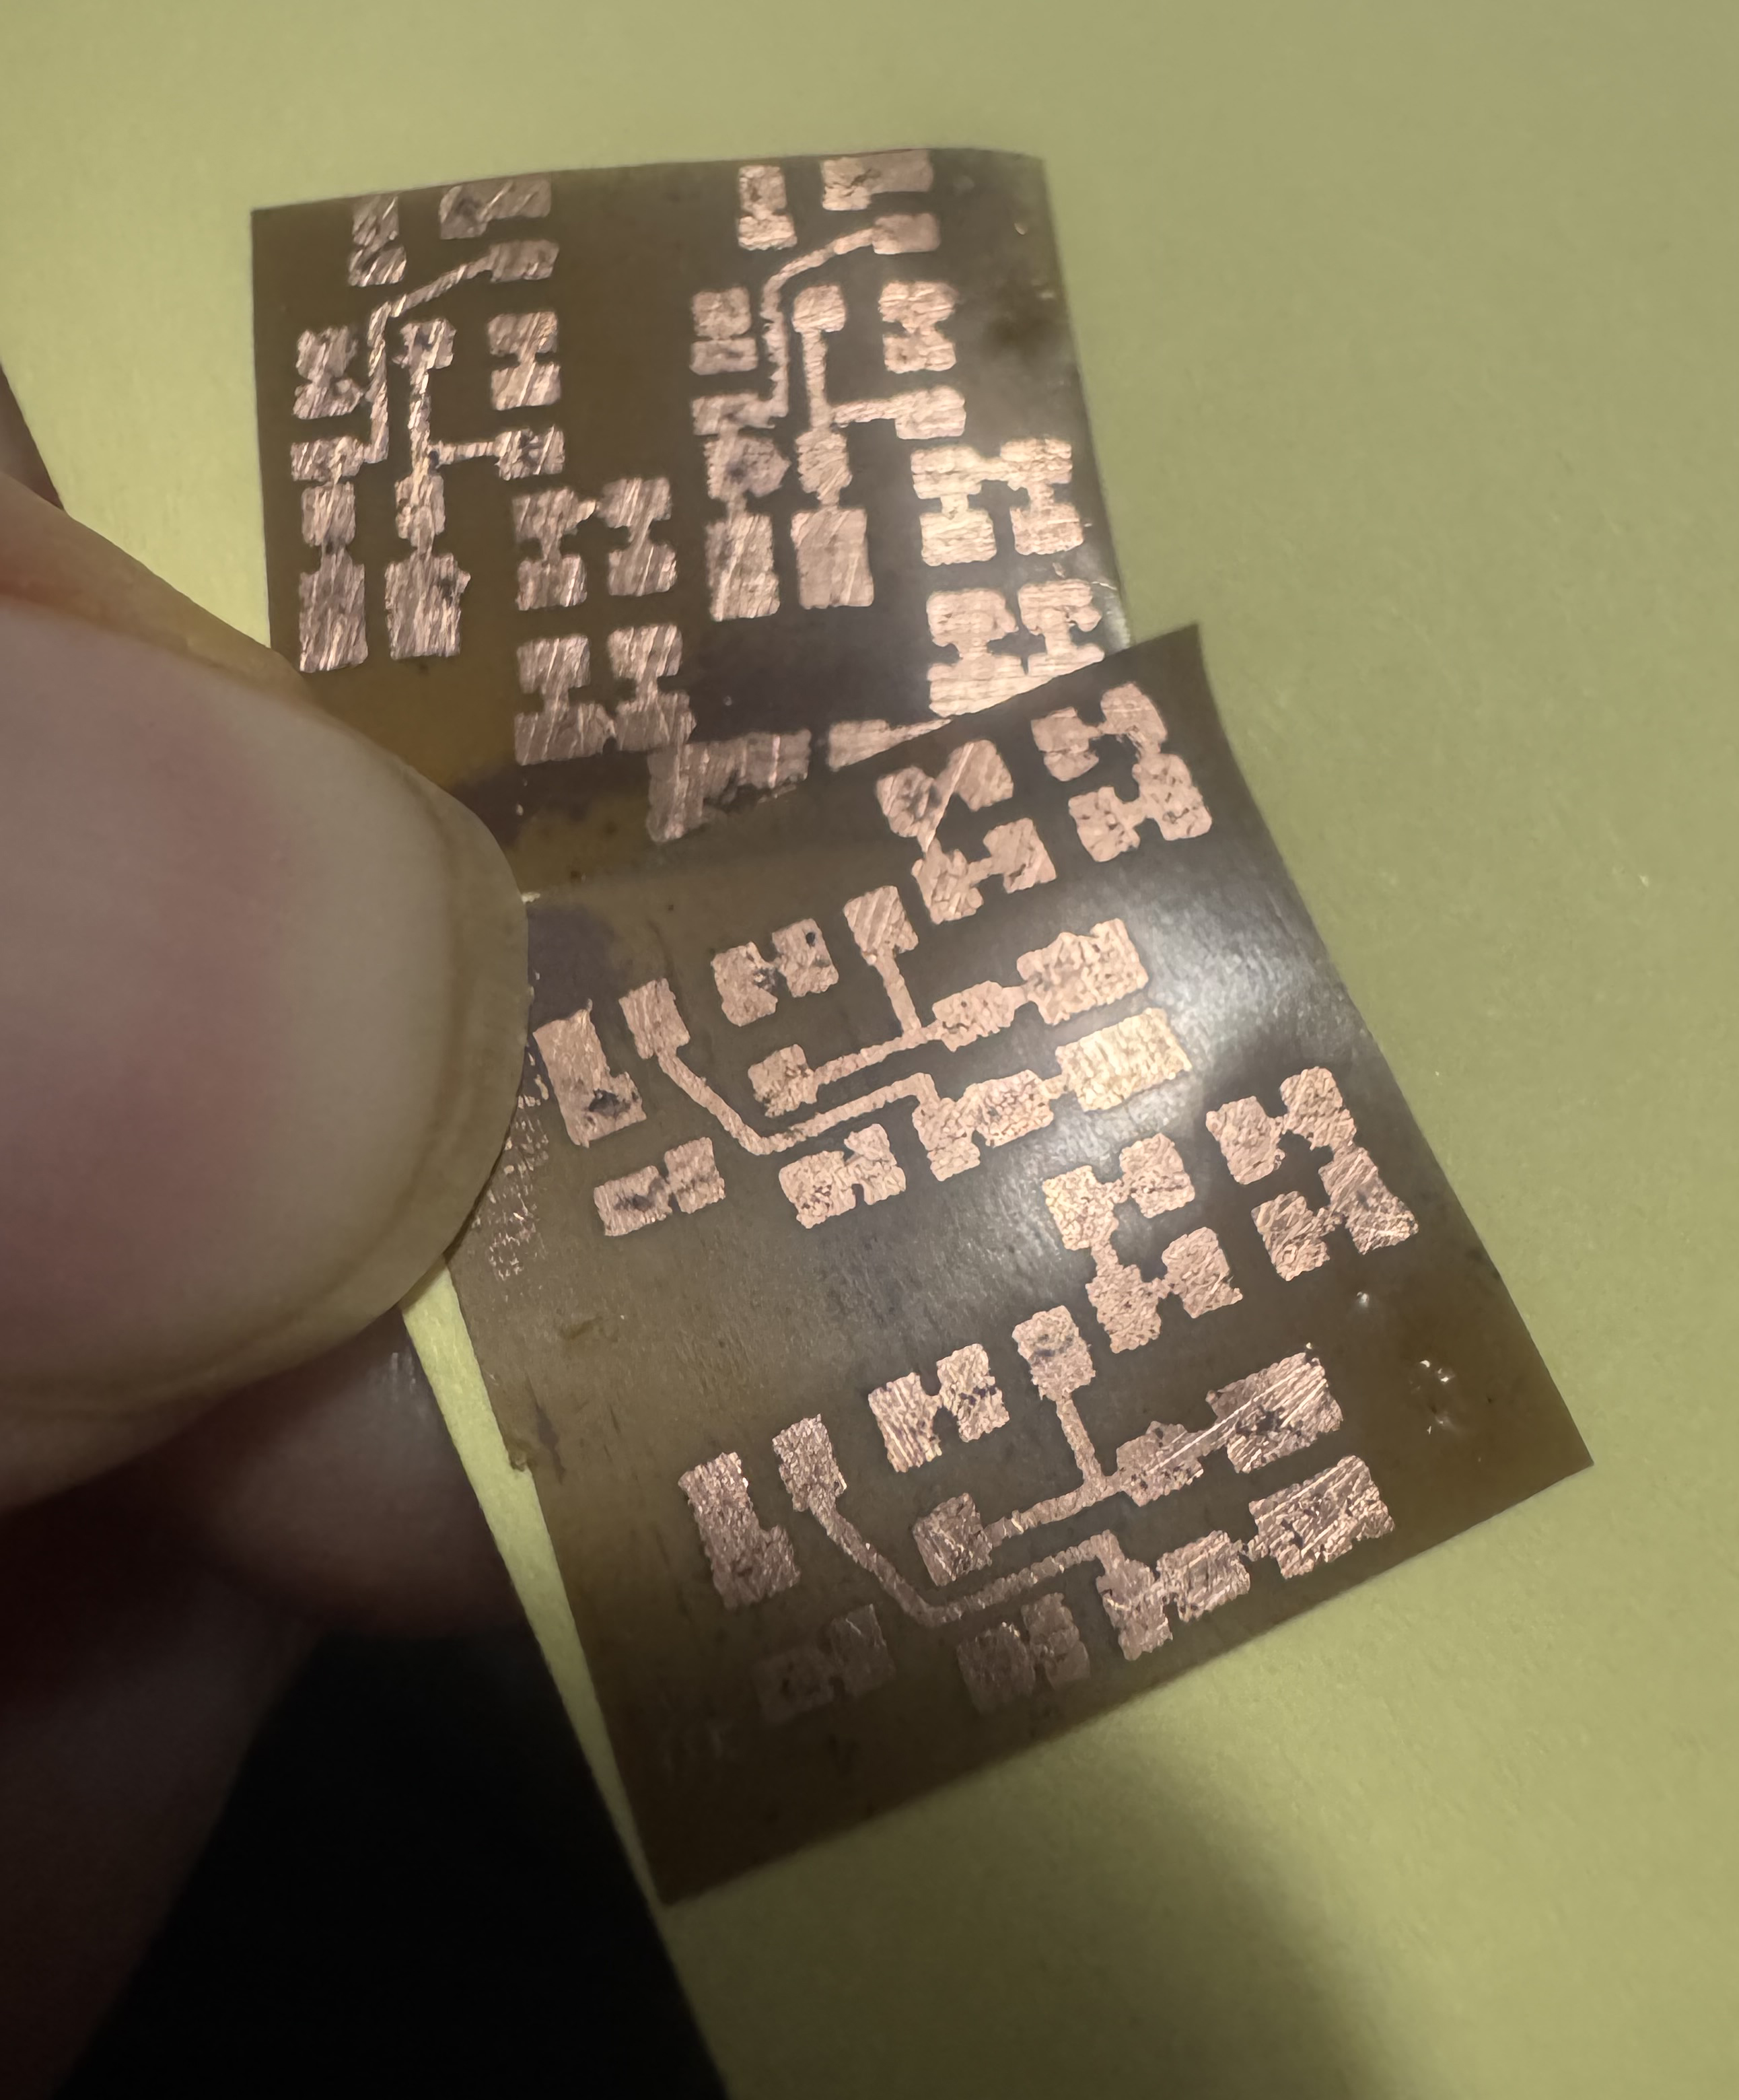
不管怎样,为了在测试中进一步分解,我决定使用一对实验室电源来测试打开和关闭单个高边 MOSFET,一个提供 20v,另一个提供 8.4v。为了打开电源,我将栅极和源极连接到 20v 实验室电源,并将 8.4v 实验室电源的红色鳄鱼夹连接到漏极,然后从源极到 8.4v 电源的黑色引线进行测量,并在该测试中验证 8v 是否有效,证明 MOSFET 实际上已开启。然后,我从电源上取下 20V 实验室电源的黑色鳄鱼夹,并将源极与栅极短路,以耗尽 MOSFET 内部的内部电容器,然后从源极到黑色 8.4V 夹子进行测试,果然它接近 0V,因此关闭。但根据 chatgpt 的说法,由于电容耦合和泄漏,栅极到源极的短路被消除后,电压确实逐渐回升至 8.4V。因此,我需要在栅极和源极引脚之间添加一个 10k 欧姆电阻器,以自动将其短路,并在应该关闭时保持其完全排空和完全关闭。

因此,我计划逐步添加组件,并在添加每个组件后进行测试,以确保在每次微小更改后它仍然可以正常工作,并通过这种方式逐渐构建电路,证明每个组件都可以正常工作。这是因为事情有所有这些陷阱,“哦,你不知道这个小细节吗?”不断出现并证明它比我想象的更复杂。所以我必须边走边证明每一件小事。在构建整个组件之后尝试找出问题所在,比在添加单个组件并且在添加该组件之前该组件正常工作时找出问题所在要困难得多。这样我就能以最好的方式克服这一挑战。

注意:提醒:我正在构建一个定制的 BLDC 电机控制器,因为现成的控制器没有足够的小型化来适应我必须处理的狭小空间限制。此外,构建我自己的软件可以让我的软件更精确地控制旋转磁场的每一个微小的进步,同时我将能够对这些进步进行脉宽调制,使它们更平滑、噪音更小,并且还具有扭矩控制,这意味着手指可以根据需要粗暴而快速地运动,或者缓慢而柔和、精致或缓慢但有力等。我还可以创建与人类手指关节加速度相匹配的加速度曲线,以使运动看起来非常自然,就像人类的运动一样,这对我来说非常重要。当我感觉这是我自己的电路时,很多精细的精度是可能的。虽然现成的产品可能具有其中一些功能,但价格往往反映了这一点,因此价格令人望而却步。但无论如何,在这种水平的控制下,没有什么是现成的,并且能够如此精细地调整其外形尺寸和体积包络,以满足我在每个电机的空间中的确切需求。


回复

使用道具 举报

您需要登录后才可以回帖 登录 | 立即注册

本版积分规则

QQ|小黑屋|Archiver|手机版|硬汉嵌入式论坛

GMT+8, 2025-9-26 19:02 , Processed in 0.045724 second(s), 27 queries .

Powered by Discuz! X3.4 Licensed

Copyright © 2001-2023, Tencent Cloud.

快速回复 返回顶部 返回列表